How to repot your orchid
Share
Orchids are beautiful and have the stigma of being difficult but in reality they are hardy and easy to care for. However, they do need regular repotting to stay healthy. If you don't know what I'm talking about when I mention repotting an orchid, don't worry, this article will show you just how simple it can be!
Decide when to repot it.
The first step in repotting an orchid is to decide when it needs to be moved. Most orchids will need to be repotted every two to three years. It's important not to repot your orchid to often and only when needed. There are two main reasons why you might want to move your plant:
- It has outgrown its current pot and needs another one that's a little bigger.
- It's losing roots due to poor potting previously or has contracted a fungal/bacterial problem that requires a division or cleaning of the plant.
Choose an appropriate pot.
- This can be a detailed conversation but ensure it has plenty of drainage.
- I like clear pots so that I can always see the roots of my plant without removing it and disturbing it.
- Make sure the pot is neither too small nor too large, and that it is heavy enough to support the plant's weight without tipping over.
- To figure out how big your pot needs to be, use this chart: https://www.groworchids.com/what-size-pot/. In general, you want to allow for another 2-3 years of growth.
Water your orchid before repotting it
Before repotting an orchid, make sure it's watered. Water it well so that the roots are pliable and full saturated.
Clean your tools
Sterilize any knives, scissors, or razor blades you will using. Easiest way to do this is with a propane torch. If you do not have one available, you can soak them in a bleach & water solution.
Remove the orchid from its current pot
This can prove to be difficult, especially with clay pots, as the roots of orchids like to attach. If you need to, cut or pry the root away from their existing pot with your sterilized tools.
Clean the orchid
- Remove any dead or damaged leaves, pseudobulbs, and roots.
- Clean away all the old media. Its easiest to do this with a hose and some water pressure but if you have to you can remove it by hand. Make sure it's nice and clean!
- Spray any of the open wounds on your orchid with an antifungal/bacterial/viricide, Physan or Zeritol HC are both great and over the counter. A paste made from a mixture of Banrot and Protect DF painted on the cut areas is best but feel free to use the treatment of your choice and always follow all recommended manufacture dosages and guidelines!
Prepare your new pot and orchid
- Place your orchid in the new pot with the oldest growth area or back bulb next to the pot.
- You want the area with new growth or eyes to be away from the edge so that you have room for several new pseudobulbs to grow.
- Keep the orchid towards the top of the pot so that when you fill it with media so that only the roots are submerged.
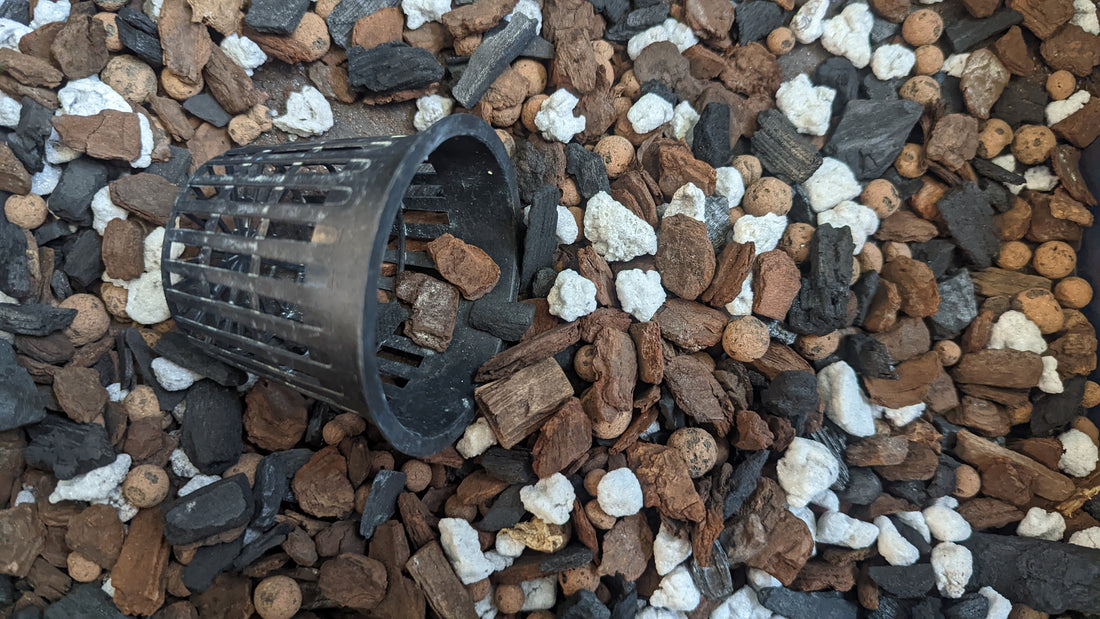
- Begin to fill in the pot with your media. Pick an appropriate media for your type of orchid and growing environment (this is a pretty in-depth conversation for another day.)
- Make sure everything is packed tightly so that nothing can move around. Orchid roots are fragile, and you don't want new roots to break when they are emerging. Use a pot clip to help secure everything in place.
Final touches
- Place or hang your orchid in the same location it was before
- Do not water it again for 5-7 days
- Relax and enjoy a day in the garden!
Remember, it's nice to be in a new home but moving is stressful!
While you do want to replace your media every few years, if you are using organic material, it is stressful on your orchid when you repot so do it only when absolutely necessary. Switching to inorganic media is a nice way to limit how often you need to repot but you will usually have to water more often.
Conclusion
It’s important to remember that repotting an orchid is a delicate process, and it can be tricky if you don’t know what you’re doing. But with these tips in mind, your plant will be ready for its new home in no time at all!